
[ click on images to enlarge ]


s a m p l e o f p r o j e c t o n e i d e a s :

By the time you are finished
learning the lowercase alphabet, we will start on Project One.
Collect scraps of colored paper, pick up a glue stick, and be sure to have some ideas in motion that you would like to try. Demonstrations will be given in class. You will be cutting up your grid paper and sectioning off words for this layout. You are not allowed to used a solid paragraph for this project.
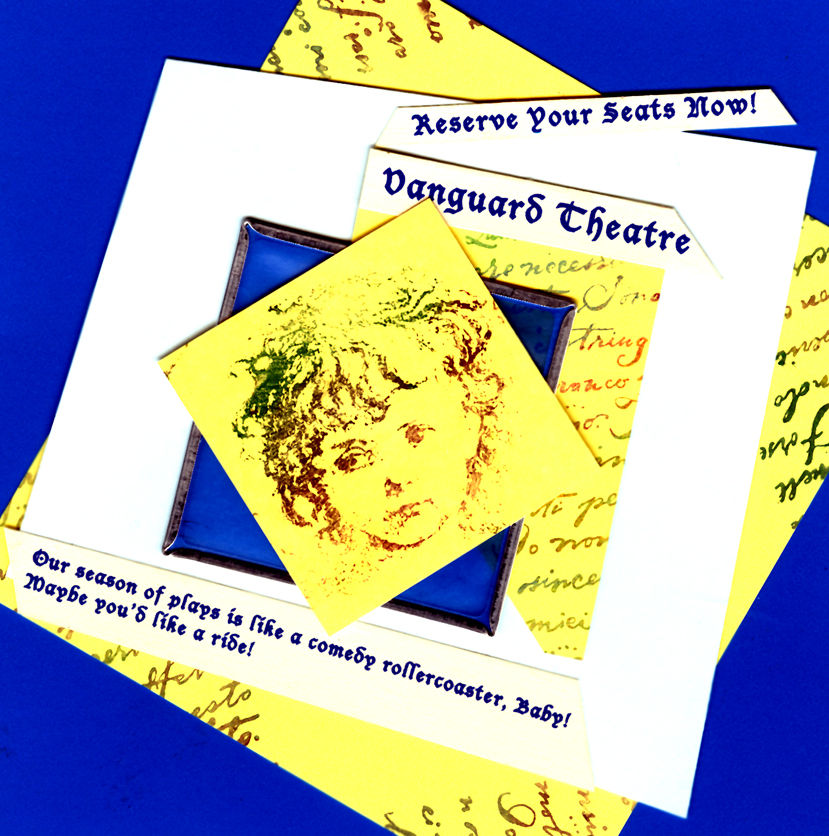
poem
verse from bible
journal entry
holiday greeting card
announcement
Many students swap supplies
and trade items for this project. An announcement will be made to bring these items to class 1 week prior to the assigned project.
a d v a n c e d p r o j e c t i d e a s


Student Work Gallery:
Free-form doodling Calligraphic style takes form as posters and t-shirt design. Once you master the Fraktur alphabet, you can create large chalk installations with the tools sold by Crayola for chalking.


c r e a t i n g a s e r i e s


Creating a series is usually easier vs. creating a solo piece.
An example would be an envelope + a card.
A series of posters or invitations...where certain elements
remain stationary, and others change.


Don't be afraid to experiment with different fonts.
This card combined many medias of bright hues.

ASH FROM THE ROSE
Valentine Heart Art 2015

I have been experimenting a lot this year with 2 panel cards that are tied together with satin ribbons. The quote that I selected is from one of my most favorite, ancient poets: RUMI. Always allow enough time for paint to dry, before adding another media to your creation.


"Out beyond ideas of wrongdoing and rightdoing--
there is a place...I'll meet you There..."


..."when the Soul lies down in that grass
the world is too full to talk about...~R U M I


HANUKKAH 2014: I was very busy during the month of November & December in production on my Hanukkah Art Cards + Envelopes. They took approximately 10 hours each to complete. They were delivered all over the world: Israel, Canada, and even to the Chabad Rabbis in New York.
To view the entire creative process head to my website which showcases this project: http://enigma3304.wix.com/ash-from-the-rose#!hanukkah/c1df9

S p r i n g W e d d i n g 2 0 1 5 :
L o v e i s i n t h e A I R !

Outside Panels: The wedding card was constructed in sections/ parts. It consists of 2 panels being tied together in the back with satin ribbons. The card then opens up vertically, and is approximately 18 inches long (both panel lenths). Paint & stamping are done first, and allowed to dry for at least 24 hours.
March 2015: This lovely couple [ JACK + DEE] saw each other at their 50th high school class reunion & the rest is history! A few years later they decided to tie the knot in Lincoln, Nebraska.
Since I was busy teaching Calligraphy to my SCC Art Students also, I decided that our first reaction project/ piece in class would center around the theme of: LOVE. This allowed me to not only demonstrate a few of the most popular medias that I create in, but to get a head start on the design & production of the wedding card.

Envelope: Photographed twice: this photo is prior to the embellishments being added. All pieces are splatter-painted and stamped at the same time. I chose pinks and blues and their tonal accents. Spring is here--and I wanted to bring out that fantasy-approach to the theme of the card... Of course--everything is coming up ROSES for the wedding!


That Which God Said to the Rose,
and caused it to laugh
in full-blown beauty,
He said to my heart, and made it
a hunderd times more beautiful.
~quote by R U M I
Inner Panels: Calligraphy and the font ROCKWELL are inner mixed to create the typographic statement by the ancient poet: RUMI. I used this quote often, when creating wedding cards. I absolutely love how he collages words together. Teal ribbon offsets the bright blue hues, with 3 different textures of glitter to add sparkle and accents: silver, and 2 shades of blue. All photographs were taken outside, as the sun was setting to cast shadows from the ribbons.

Final Accents: The daisy rhinestone accents are the final touch. There were enough of them to also highlight the wrapping on the wedding gift. When adding the final glitz: LESS is always more. You always have to know when to stop!


Final Prodctuion: Instead of trying to find wrapping paper to match my card + envelope, I simply took white tissue paper & used the rose & typography stamps that were used for the card + envelope. Ribbons were applied to wrapping the gift in the same manner. The end result: 3 final pieces--Card, Envelope and matching, wrapped gift. Total production: approximately 12 hours from start to finish. And, I had a lot of fun tweeting the creative process on twitter as I designed, prior to posting all of the photos here. Congrats to Dee + Jack on their March 2015 wedding! I know they will be happily married forever!

taught by Professor Pamela L. Fiedler
©2021, All Rights Reserved
ABC, 123: Hey University Students! Who wants to learn Calligraphy?
You too, can write this cool in just one semester! |JERUSALEM | TEL AVIV | HAIFA |